
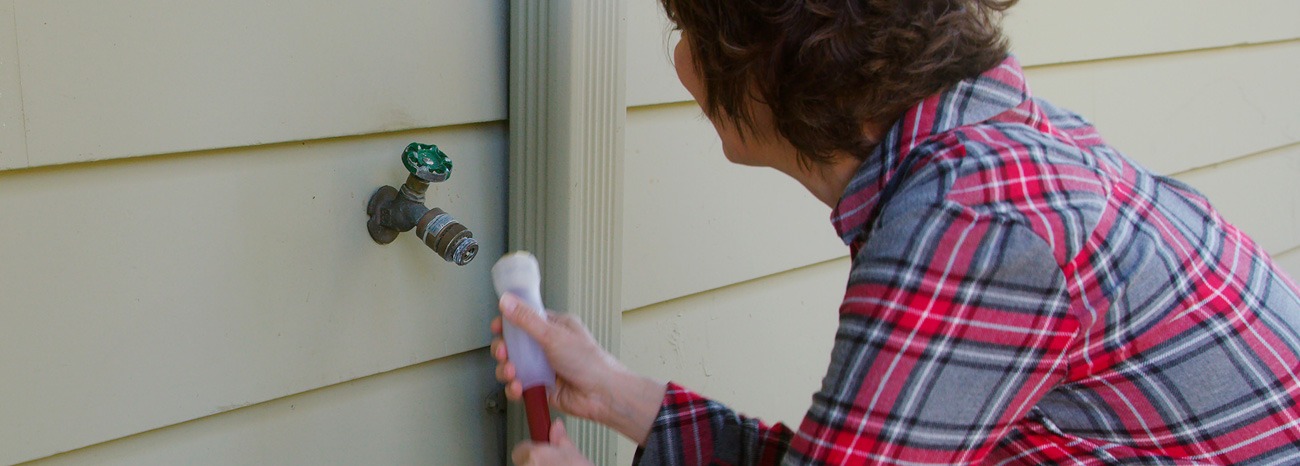

If you’ve noticed issues with your outdoor spigot—maybe it has a constant drip, you’re hopping out of the way of an uneven spray or can’t get it to fully shut off—it could be time to replace your hose bib.
What’s the hose bib? It’s just the name for your home’s outdoor faucet that’s usually attached to your garden hose so you can easily take care of your outdoor watering and cleaning needs, from filling watering cans to rinsing off muddy garden tools.
Hose bibs wear out over time after years of use and exposure to the elements. It’s an annoyance you’ll want to take care of before the leaking water starts to cost you more money in higher water bills or, even worse, cause damage to the foundation of your home.
Signs It’s Time for a New Hose Bib
- Never-ending Drip: The water doesn’t stop dripping, even after tightening the handle or replacing the washer.
- Internal Damage from Rust or Corrosion: When you can see rust or corrosion around the packing nut or the body of the spigot, it’s a sign of internal damage and the need for a new hose bib.
- Handle Sticks: Mineral build-up can get to the point that the handle sticks and no longer works properly.
- Irregular Water Flow: Sputtering flow or low water pressure is a sign there’s an issue with the internal parts of the hose bib.
The good news is that replacing a hose bib is a pretty simple task many homeowners can tackle with a little preparation and the right tools. Here’s what you need to know to safely and effectively replace a hose bib.
Replacing is Easy with The Right Tools
Here’s what you’ll need for your DIY hose bib replacement:
- New hose bib (if you live in a colder climate, consider getting a frost-free model)
- Wrench or pliers (adjustable)
- Teflon tape or pipe thread sealant
- Pipe cutters (for copper or soldered pipes)
- Screwdriver
- Rags or towels
- Safety gloves and eye protection
Follow these steps for an easy process:
- Shut Off the Water Supply: Find your home’s main shut off valve or a dedicated ball valve that controls the outdoor spigot and shut the valve completely. Then, open the hose bib outside to drain any remaining water from the line.
- Remove the Old Hose Bib: Use your wrench or pliers to loosen the old hose bib. Most are threaded and will unscrew pretty easily. If your fixture is soldered onto a copper pipe, you’ll need a pipe cutter to remove it. Make sure your cut is straight and clean to avoid damaging the pipe.
- Clean and Inspect the Connection: With the old bib removed, inspect the pipe or threaded fitting. Look for any signs of corrosion, cracking or mineral build-up. Clean the threads or the cut end of the pipe with a rag to remove old tape and dirt.
- Install the New Hose Bib: Apply the teflon tape or pipe thread sealant to the threads in a clockwise direction to create a watertight seal. Screw on the new hose bib by hand until snug, then use your wrench to finish tightening it. Be careful not to over-tighten or risk stripping the threads or cracking the fixture.
When installing a frost-free model, make sure it’s angled downward slightly so water can drain from the valve.
- Turn on the Water and Check for Leaks: Turn the water back on slowly and check the connection where the new hose bib meets the pipe for any signs of leaking. Tighten as needed.
Finally, test the flow by turning the spigot on and off a few times. You should see a steady stream of water and no drips around the fittings.
Keep It Flowing: Maintenance Tips
Your new hose bib should give you years of reliable use but a little upkeep goes a long way. Here’s how to keep things running:
- Regular inspection: Check the hose bib at the start of each season, especially in the spring and fall, for leaks, corrosion or stiffness in the handle.
- Winterize before freezing temps arrive: Before the first freeze of the year, turn off the indoor valve controlling the spigot, drain the line and consider using a faucet cover or insulating wrap. Even with a frost-free model, draining is still a smart move.
- Use with care: Avoid overtightening hoses or yanking them off the spigot, which can stress the connection.
When to Call in the Pros
Replacing a host bib can be an easy weekend project but sometimes you need to call in the pros. If you find hidden damage inside the wall, aren’t sure you want to handle soldering pipes or run into other problems like a malfunctioning shut off valve, don’t hesitate to call a plumber.
Your Reliable Resource for Home Plumbing
Our team of expert plumbers have decades of experience working with home plumbing systems. We understand that our region’s seasonal temperatures can complicate even the simplest fixture replacement and are happy to help. Call 215.799.2019 or visit emoyer.com/services/plumbing to get started.
FAQs
How can I insulate an outdoor faucet for winter?
Use an insulated faucet cover or wrap foam insulation around the exposed pipe. Always shut off the water supply and drain the line if your spigot isn’t frost-free.
What types of hose bibs are there?
Standard hose bibs have the shut-off valve near the handle. Frost-free hose bibs extend the valve deeper inside the house, where it’s warmer, which makes them best for cold climates.
Can I reuse parts from the old hose bib?
It’s best to use new parts for a secure, leak-free installation. Old washers or handles may be worn out or incompatible.
How often should I inspect my hose bib?
With every change in season but twice a year is fine—once in the spring before regular use and again in the fall to prep for winter.